



Mastering Microfoam at Home: The Science and Technique Behind the Perfect Milk Frother

Velvety, micro-textured foam transforms an ordinary morning cup of coffee into a café-quality experience right in your kitchen. Achieving that silky consistency depends entirely on understanding how milk proteins trap air when agitated by a reliable milk frother.
Whether preparing a morning cappuccino or a creamy matcha latte, mastering this tool elevates your daily beverage ritual. Let us explore the mechanics of dairy aeration, the equipment options available, and practical techniques to achieve barista-level results every time.
The Science of Milk Foam
Milk is a complex emulsion containing water, fats, proteins, and carbohydrates, primarily lactose. When air is introduced into dairy or plant-based alternatives, proteins such as casein and whey unfold and form a protective membrane around the trapped air bubbles.
Casein micelles and whey proteins stabilize these bubbles against coalescence, preventing them from immediately popping or separating into liquid and air. The fat content also plays a crucial role, as fat globules can coat protein films and influence bubble size, which explains why whole milk often yields richer, more stable foam than skim milk.
Equipment Choices for Every Kitchen
Selecting the right device depends on your beverage preferences, counter space, and desired level of control. Handheld battery-operated or rechargeable whisks offer incredible portability and speed, while automated carafes provide hands-off heating and frothing cycles.
Handheld Whisks: Compact, versatile, and easy to clean, a portable rechargeable milk frother with a stainless steel whisk allows precise control over vortex creation and aeration depth directly in your mug or pitching jug.
Automatic Carafes: These countertop appliances heat and aerate simultaneously, offering preset programs for warm froth, cold foam, or dense cappuccino textures.
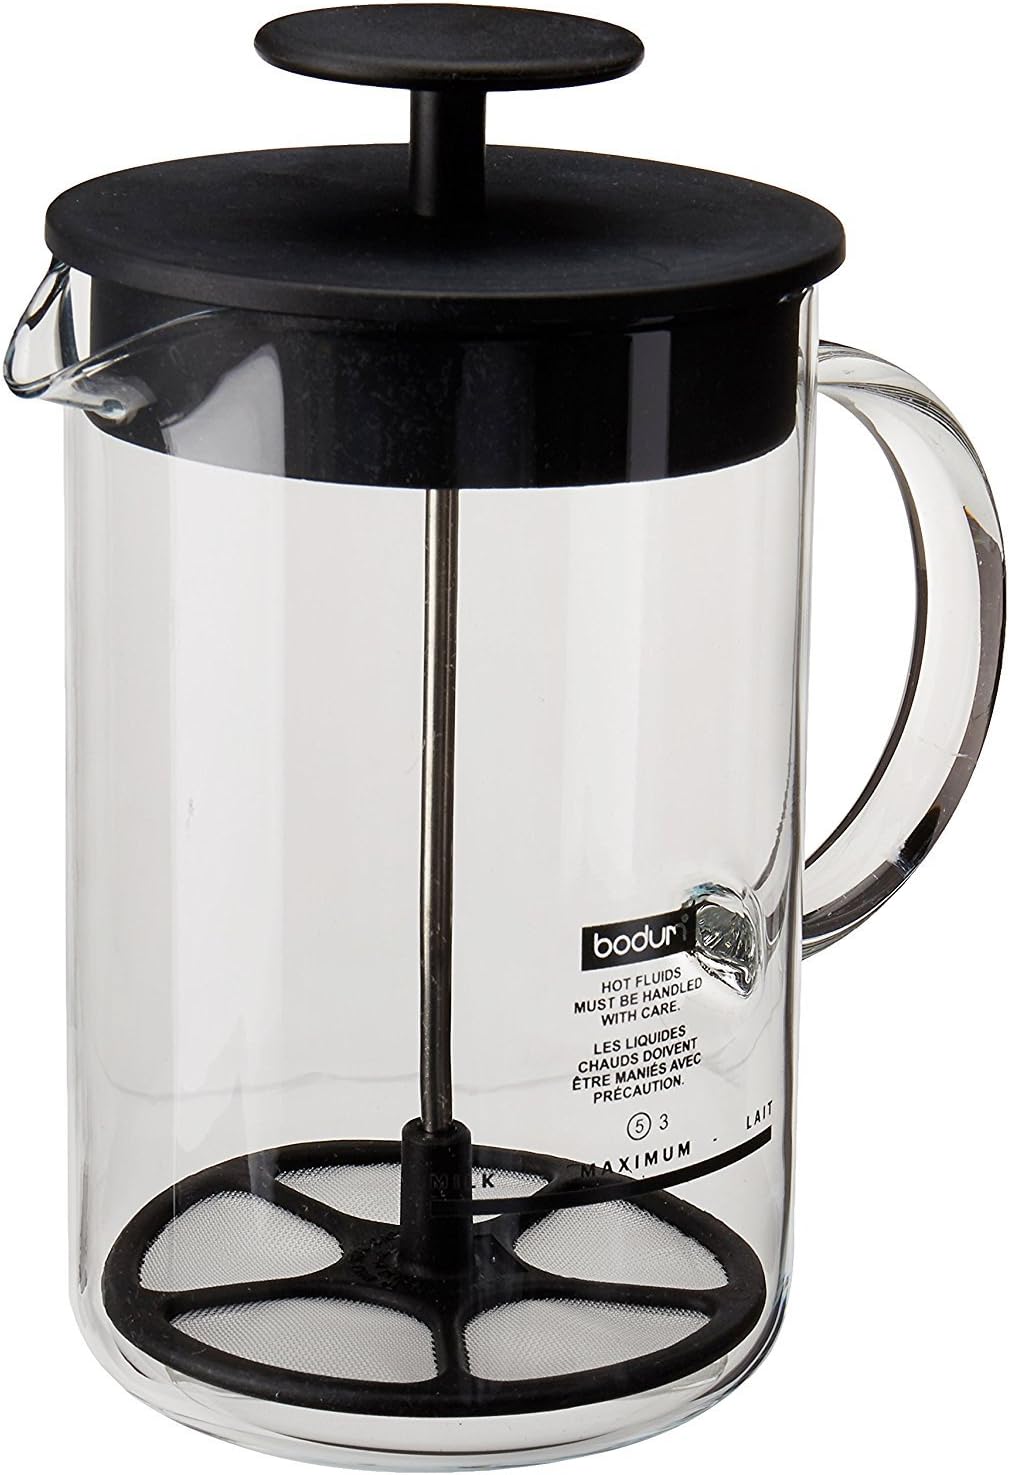
Manual Pumps: Plunger-style frothers rely entirely on physical effort, forcing warm milk through a fine mesh screen to create microfoam without electricity.
Step-by-Step Technique for Velvety Microfoam
Even the most advanced equipment requires proper technique to produce glossy, pourable microfoam rather than dry, stiff soap-like bubbles. Start with cold milk, as lower starting temperatures provide a wider window for aeration before the proteins denature from heat.
Pour cold milk into a deep, narrow vessel to prevent splashing and allow a proper vortex to form.
Submerge the whisk just beneath the surface of the milk at a slight angle to encourage swirling rotation.
Turn on the device and hold it near the surface for a few seconds to incorporate initial air, then lower it slightly deeper into the liquid to integrate and break down large bubbles.
Continue blending until the milk doubles in volume and achieves a glossy, paint-like sheen before pouring immediately into your espresso or brewed coffee.
Troubleshooting Common Frothing Challenges
Achieving consistent results can sometimes be tricky due to variables in milk composition, temperature, and technique. If your foam collapses too quickly, your milk may have been heated past optimal temperatures, which degrades the protein structures responsible for stability.
Plant-based milks behave differently than dairy due to varying protein and fat profiles; barista-edition oat and soy milks are specifically formulated with added stabilizers to mimic dairy microfoam behavior. Adjusting your whisk angle and ensuring your tool operates at peak RPM will also resolve most texture inconsistencies.
Conclusion
Transforming your daily coffee routine requires little more than quality ingredients, a reliable tool, and an understanding of milk thermodynamics. By refining your technique and selecting equipment suited to your kitchen habits, you can enjoy artisanal coffee shop textures effortlessly at home.
Sources
Specialty Coffee Association Milk Science Guidelines
Journal of Dairy Science - Protein Stability and Emulsification
LuckeLadybug
Noticias
Navigating Estate Administration: A Step-by-Step Practical Guide for Families


