


Mastering the Craft: The Ultimate Guide to Choosing and Using a Cocktail Shaker Set

Crafting bar-quality cocktails at home begins long before you pour your spirits into a glass, starting with the fundamental equipment resting on your counter. Whether you are shaking a bright citrus gimlet or a frothy egg-white sour, having the right setup transforms amateur mixing into a refined art form.
Understanding the anatomy and proper utilization of a professional bar kit is essential for achieving the perfect chill, dilution, and texture in every pour. Investing in quality barware ensures consistent results and elevates your entertaining experience.
Anatomy of a Professional Bar Kit
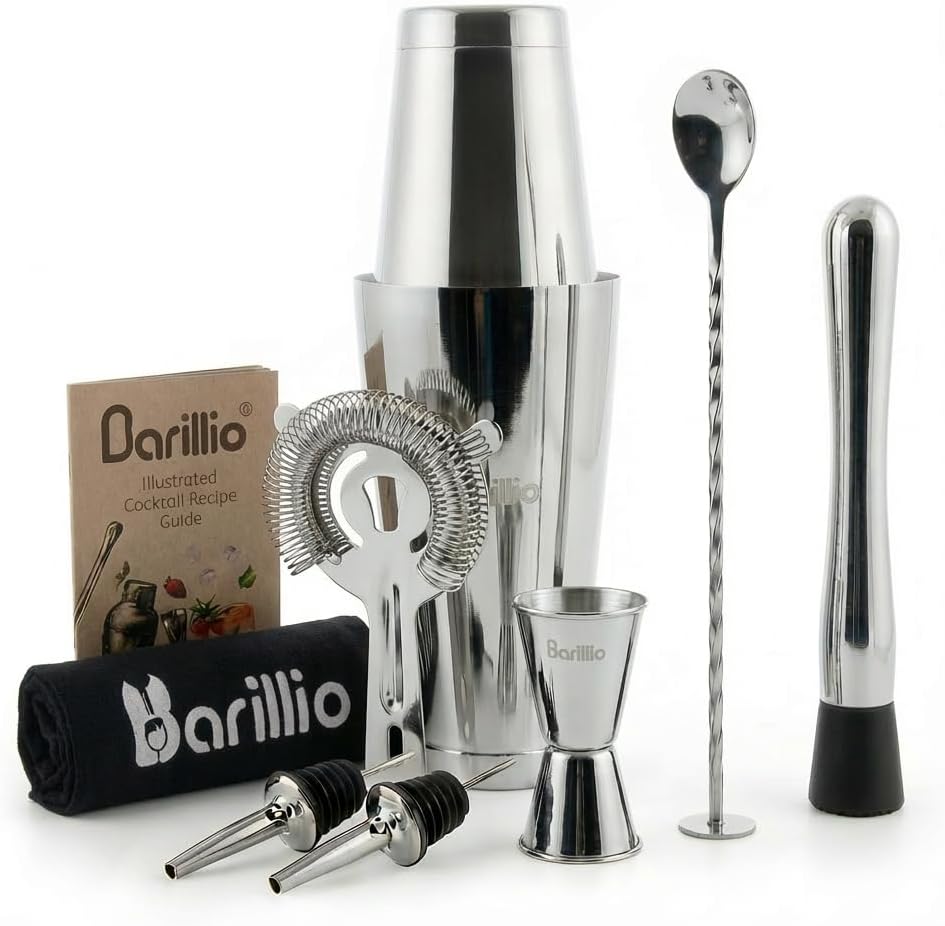
At the heart of any serious home bar setup is a reliable cocktail shaker set designed to withstand heavy use while providing an airtight seal. Professional setups typically favor the Boston configuration, which consists of two stainless steel tins that nest together seamlessly.
Unlike traditional three-piece cobbler shakers with built-in strainers, professional stainless steel Boston shakers do not freeze shut or warp under rapid temperature drops. This design allows for faster shaking speeds, superior temperature control, and effortless separation after a vigorous shake.
A standard 4/5-piece professional stainless steel Boston shaker set typically includes dual metal tins, a fine mesh strainer, a jigger for precise measurements, and a muddler, providing everything needed for balanced mixology.
Technique: Shaking vs. Stirring
One of the most common mistakes in home bartending is applying the wrong kinetic technique to a recipe. Shaking is designed to rapidly chill, aerate, and dilute spirits, making it ideal for drinks containing citrus juices, dairy, eggs, or simple syrups.
Stirring, conversely, is reserved for spirit-forward beverages like martinis or manhattans where clarity and smooth, velvety texture are paramount. Vigorous shaking introduces micro-bubbles and frost, which adds a lively, refreshing mouthfeel to citrus-based cocktails.
Fill Correctly: Always fill your shaker tins completely with fresh, dense ice cubes to minimize unwanted dilution from melting water.
Secure the Seal: Give the top tin a gentle yet firm tap with the heel of your hand to create a secure vacuum seal before lifting.
Shake with Purpose: Hold both tins firmly and shake aggressively over your shoulder for 10 to 12 seconds until the metal frosting appears.
Real-World Application: The Classic Sour
To see your barware in action, consider preparing a classic whiskey or gin sour, which relies heavily on proper mechanical aeration. Combining base spirit, fresh lemon juice, and simple syrup requires an energetic dry shake (without ice) followed by a wet shake with ice to emulsify egg whites into a rich, velvety foam.
Professional bartenders rely on stainless steel equipment because metal responds instantly to ambient temperature and ice friction. This thermal conductivity ensures your cocktail reaches the optimal serving temperature of around -5°C within seconds without diluting flavor profiles.
Conclusion
Mastering home mixology is a rewarding journey that blends precision measurement with creative flair. By equipping your kitchen workspace with durable, professional-grade tools and understanding the mechanics of temperature and dilution, you can consistently pour exceptional drinks.
Sources
AliExpress Product Listing
Liquor.com Essential Barware Guide
LuckeLadybug
News
The Evolution of Half-Time: How a Simple Intermission Became Global Culture


